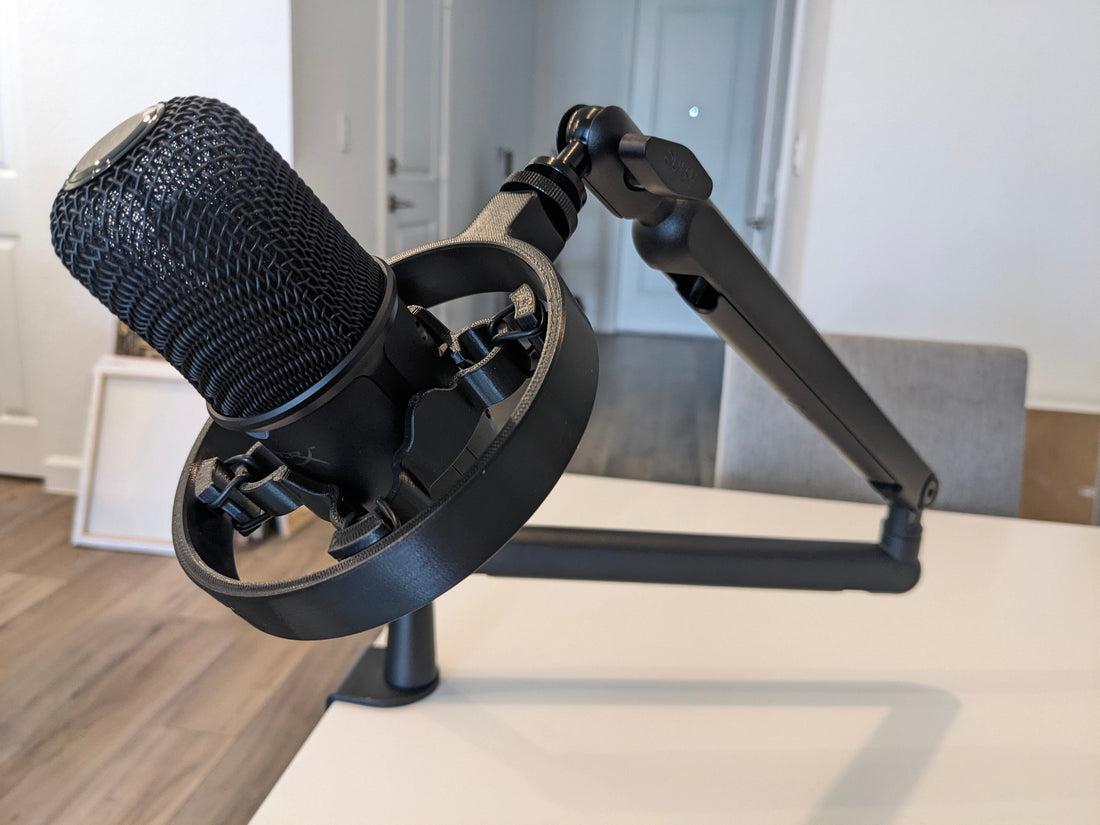
HyperX SoloCast Shock Mount
Welcome!
Thank you for supporting my small business. With any problem, you can contact me via the live chat button here.
HyperX SoloCast Shock Mount Guide:
1. Slide the microphone out of the original arm.

2. At the back of the mic and the back of the shockmount, there are 2 "ear-like" features; the features on the mic should rest on the corresponding features of the shockmount.


3. Slide the microphone into the shockmount. Make sure to align the front marking on the shockmount with the front marking on the mic.

4. Make sure the back of the assembly looks like this.

And you’re done!! You assembled the Printing Pilot HyperX SoloCast Shock Mount!
PLEASE MAKE SURE, while screwing the entire shock mount assembly back onto the boom arm, to screw it in as straight as you can This is a 3d printed thread, it works great, but if you cross-thread it, you will destroy the threads, and we won't send you a replacement part for it.
